Configuring ROI zones (Region of Interest)
ROI (Region of Interest) is an area defined on the camera frame so the AI only analyzes the parts of the frame that matter, instead of the whole frame.
- Higher accuracy: filters out noise from irrelevant areas (hallways, walkways outside).
- Better performance: reduces GPU load by only analyzing a small area.
- Required for some features: People counting in/out needs an ROI to work accurately.
Prerequisites
- The camera has a reference screenshot (captured live or stored) — see Managing cameras.
ROI zone types
The Portal shows 2 tabs named "ROI" and "EXCLUSION" (not "Inclusive"/"Exclusive" as conceptual names) when you open Zone Configuration for a task. The table below keeps the easier-to-understand conceptual names, noting the real tab name alongside.
| Type | Portal tab name | What the system does | Example use |
|---|---|---|---|
| Inclusive (analysis area) | ROI | Only analyzes objects inside this area | Draw around an entrance/exit, service counter, meeting room |
| Exclusive (excluded area) | EXCLUSION | Ignores objects in this area, even inside an inclusive area | Exclude a TV/screen showing people, a mirror, a poster with people on it |
When checking the Zone Configuration for a Shift meeting task, only the ROI and EXCLUSION tabs were visible — no "Restricted" tab. A direct check against a real Restricted Area Alert task was attempted but unsuccessful: the current test account has no existing Restricted Area Alert task (confirmed via search — 0 results), and repeated attempts to create a new task of this type for testing failed due to a tooling limitation (the Location/camera dropdown in the task creation form fails to render correctly for a long list, so it can't be selected via script). This is a remaining verification gap — resolving it needs either (1) someone with Portal access manually creating a Restricted Area Alert task and opening Zone Configuration to check, or (2) a test account that already has a task of this type. See also Restricted zone check.
Drawing ROI on the Portal
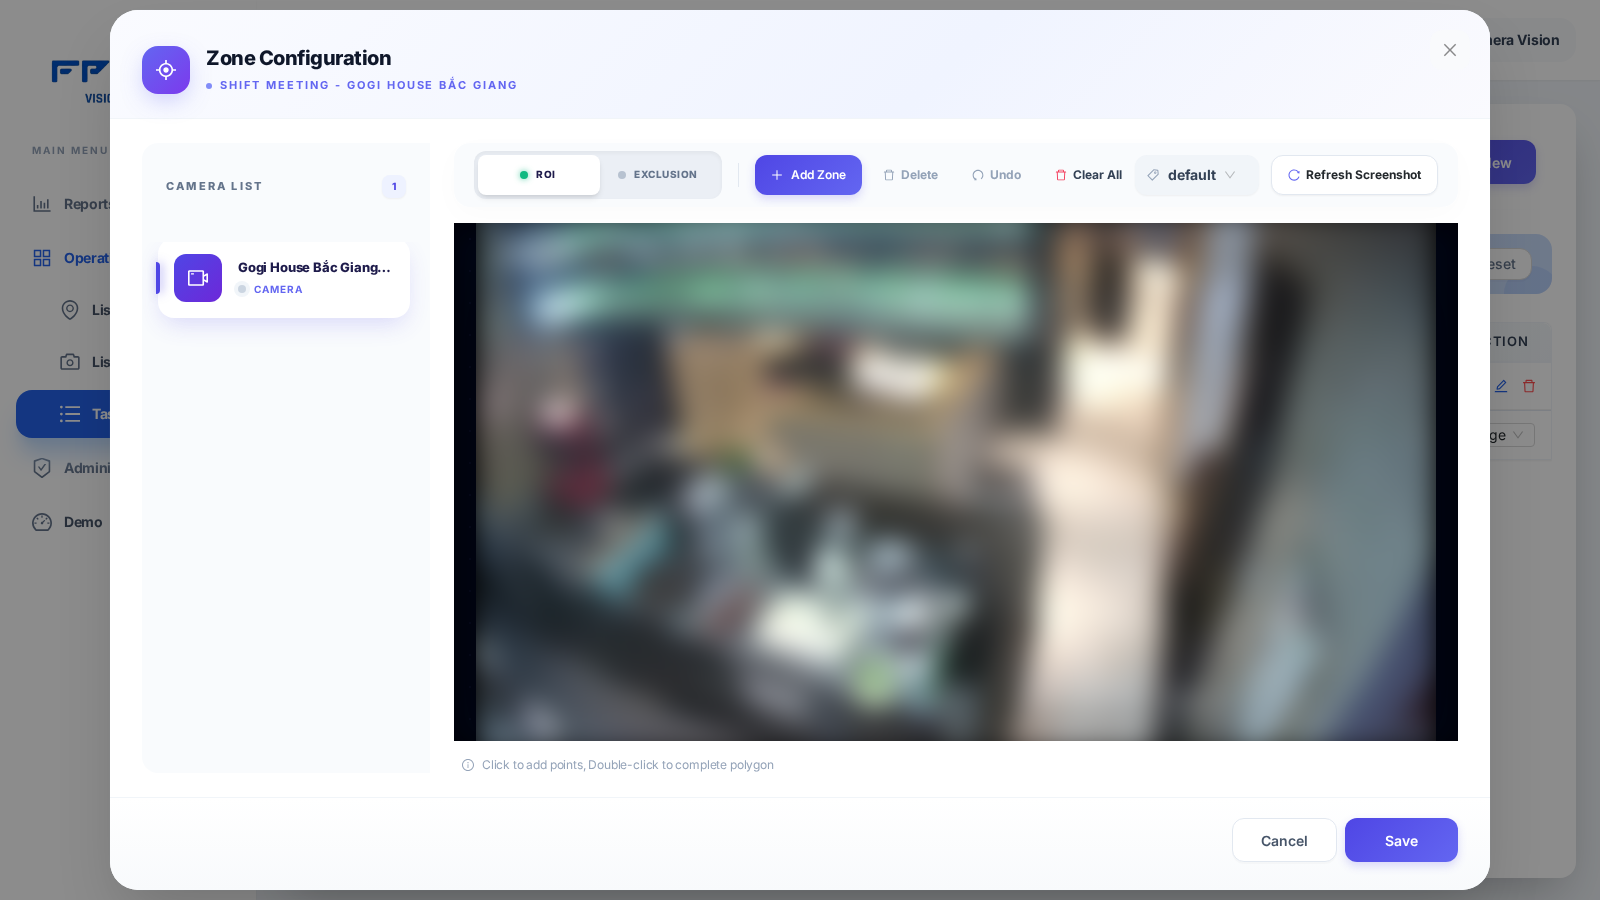
- Sign in to the Portal, go to Operations → Tasks → find the task assigned to the camera you want to configure.
- Click the Zone Configuration icon (the target/aim icon) on that task's row.
- The system shows the camera screenshot as background (from S3, freshly captured from the live stream, or taken from stored video).
- Use the polygon drawing tool on the canvas:
- Click points to create vertices (at least 3), double-click to complete the polygon.
- Switch between the ROI and EXCLUSION tabs to draw each zone type; click Add Zone to add a new polygon within the same tab.
- Use Undo to undo the last point, Delete to remove the selected polygon, Clear All to clear everything.
- Click Save to send the configuration to the server.
Coordinates are stored in absolute pixel units based on the original image size. The system stores the image dimensions alongside the ROI to ensure the polygon maps correctly if the resolution changes.
Confirm: reopen Zone Configuration for that camera-task and check the polygon appears in the correct position.
Click Delete Zone to remove the configuration — the camera reverts to full-frame analysis.
Best practices by camera angle
| Camera angle | Recommendation |
|---|---|
| Straight-on view of an entrance/exit | Draw the ROI around the whole doorway, extended by 10–15% |
| Angled from the ceiling | Draw the ROI as a perspective trapezoid |
| Wide angle | Draw the ROI only in the center area, avoiding distortion at the edges |
- At least 3 points per polygon; 4–6 points is recommended for accurate coverage.
- Close the polygon: the last point should meet the first.
- Avoid overlapping inclusive polygons.
- Add margin: extend the ROI by ~10% beyond the actual area to avoid missing objects.
Common cases
- Restaurant entrance/exit camera: inclusive area covers the whole doorway; exclude the cashier counter area if present.
- Meeting room camera: inclusive area covers the whole table and surrounding area; exclusive zones usually aren't needed.
- Hallway camera: inclusive area covers only the main walkway; exclude windows, mirrors, and areas that don't need monitoring.
If you don't configure an ROI for the people counting in/out feature, the system picks up people walking past in the hallway too, causing seriously inaccurate counts and preventing the person-matching algorithm from working between the in and out cameras. This is the most common cause of people-counting errors — see People counting in/out — Troubleshooting.