SDK Configuration
This document describes and provides guidance on configuring various options for the eKYC SDK from the eKYC Portal. These options include changing the operation flow and editing some interface components of the SDK.
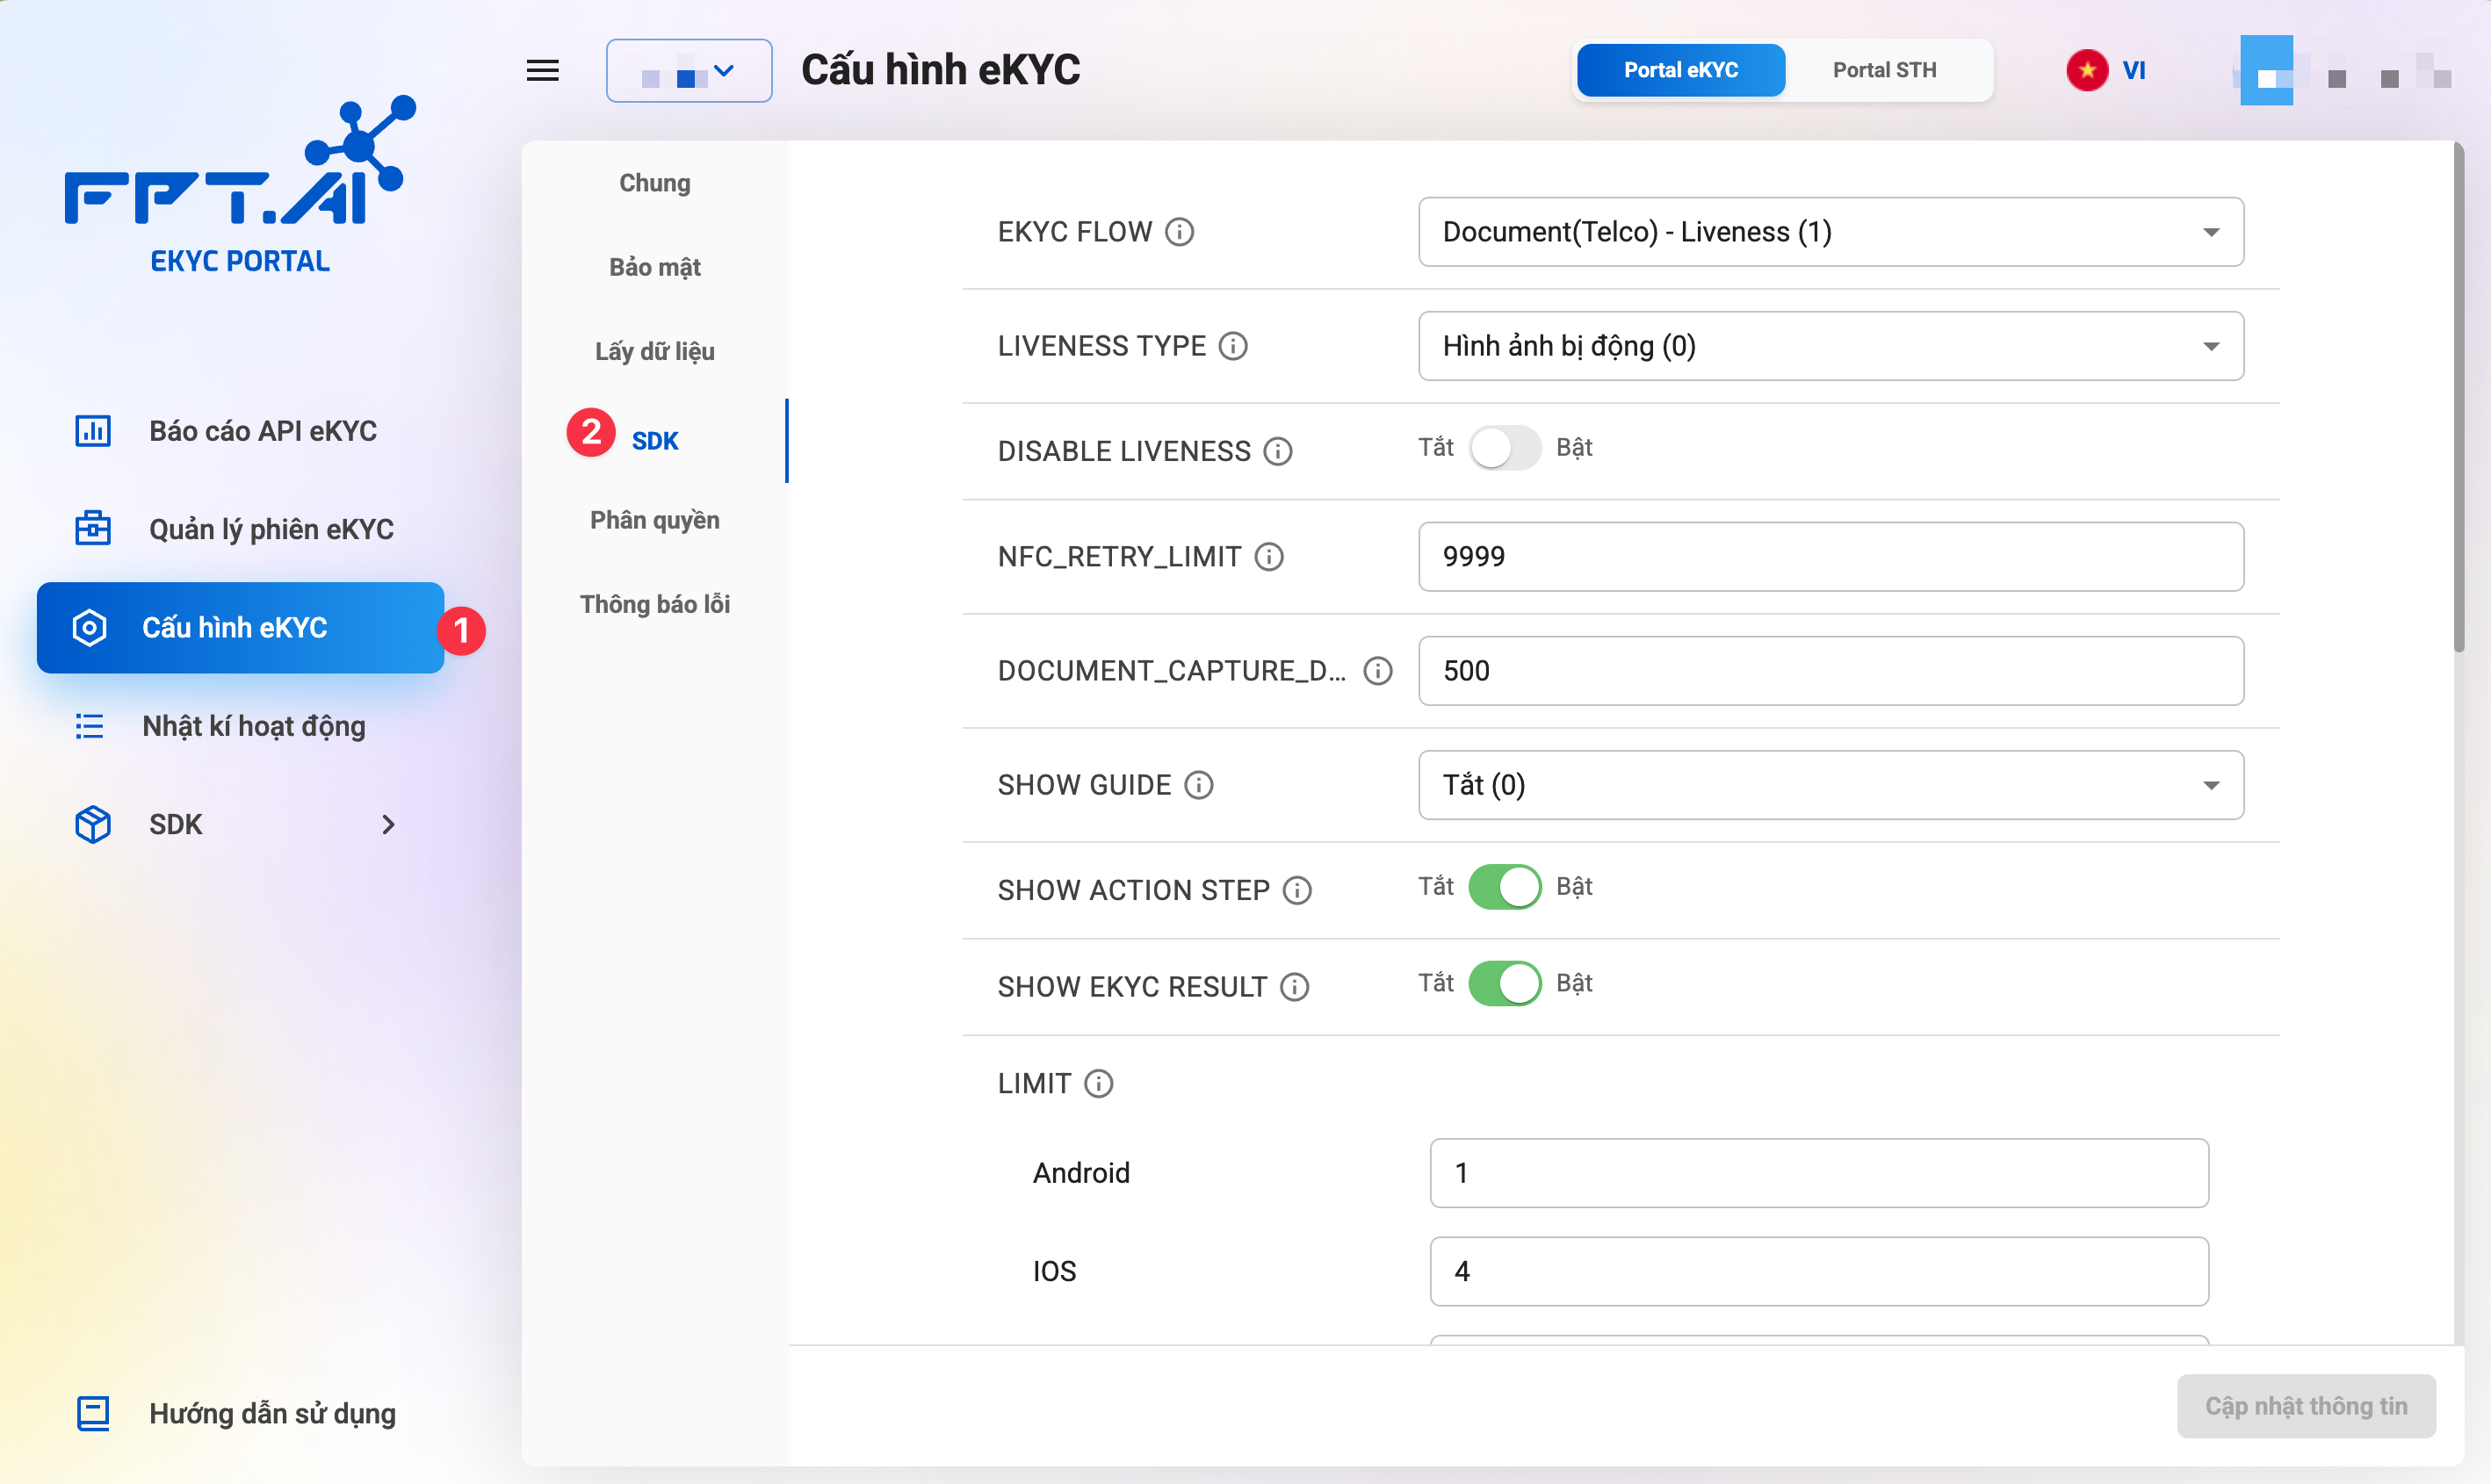
To access this page, log in to the eKYC Portal and choose the eKYC Configuration tab in the left menu. Then, select SDK in the sub-menu.
Below are the detailed instructions:
1. eKYC Flow

Description: The eKYC flow is a process designed to authenticate a user's identity through identification and verification methods.
The eKYC flow consists of two main steps that cannot be changed:
- Retrieve information from ID (surface OCR or NFC reading or both)
- Identity verification (matching the photo on the ID with the user's portrait photo)
Additionally, other steps can be adjusted according to the customer's usage needs, such as: QR code scanning, liveness check, etc.
Currently, the eKYC Portal supports 2 eKYC flow options:
- Document-Liveness flow: OCR of ID surface information, user liveness check, and identity verification.
- Document-NFC-Liveness flow: OCR of surface information, reading information from NFC chip, user liveness check, and identity verification.
How to configure:
Select the eKYC flow that suits the customer's usage needs.
If customers wish to use eKYC flows other than those available on the eKYC Portal, please contact the product consulting or technical support team for assistance.
2. Liveness Check Method

Description: This section allows customers to select one of the supported liveness check methods. Some methods do not require users to perform any specific actions, while others require users to follow instructions for the SDK to perform the check.
Currently, the eKYC Portal supports 4 liveness check method options:
- Passive Image: Liveness check by asking the user to record a 3-5 second selfie video. Random frames will be extracted by the algorithm and sent to the eKYC server for deeper analysis.
- Active Image: Liveness check by asking the user to record a 3-second close-range selfie video and take one far-range selfie photo. Random frames will be extracted by the algorithm and sent to the eKYC server for deeper analysis.
- 3 photos left/right/center: Liveness check by asking the user to take 3 selfie photos at 3 different face angles: left, right, and center. These three photos will then be sent to the eKYC server for deeper analysis.
- Liveness Flash: Liveness check by asking the user to record a 3-5 second selfie video. During recording, the device screen will flash colored light. Random frames will be extracted by the algorithm and sent to the eKYC server for deeper analysis.
Customers can refer to the Comparison of Liveness Check Methods document for more details on these liveness check methods.
Illustration of Liveness Check Methods:
-
Passive Image:
-
Active Image:
-
3 photos left/right/center:
-
Liveness Flash:
How to configure:
Select the liveness check method that suits the customer's usage needs.
If customers wish to use liveness check methods other than those available on the eKYC Portal, please contact the product consulting or technical support team for assistance.
During the use of the FPT AI eKYC system, customers can change the liveness check method at any time by changing the selection on the eKYC Portal. However, for an effective transition, customers should evaluate on their sample data.
3. Enable/Disable Liveness Check

Description: Allows enabling/disabling the Liveness check step in the SDK.
- Off: Perform Liveness check according to the Flow
- On: Skip the Liveness step
How to configure: Use the toggle switch to enable or disable this feature.
4. NFC Scan Retry Limit

Description: This section allows customers to configure the number of NFC scan retries that users can perform in a session after the first failure.
How to configure:
Enter the number of NFC scan retries that users can perform in a session.
This configuration only applies to eKYC flows that require NFC scanning.
5. Document Capture Delay

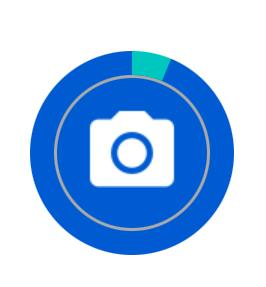
Description: This section allows customers to configure the delay time for auto document capture. This time is counted from when the SDK validates the document to when the SDK completes capturing the document.
The unit of delay time is ms. The default value is 500.
This delay time will be displayed on the SDK interface as a dynamic animation of a green circle around the capture button, as shown below.
How to configure:
Enter the document capture delay time.
6. Block Screenshot

Description: This section allows customers to enable/disable the screenshot blocking function during eKYC.
- On: Screenshot not allowed
- Off: Screenshot allowed
How to configure: Use the toggle switch to enable or disable this feature.
7. Device Security Check by OS
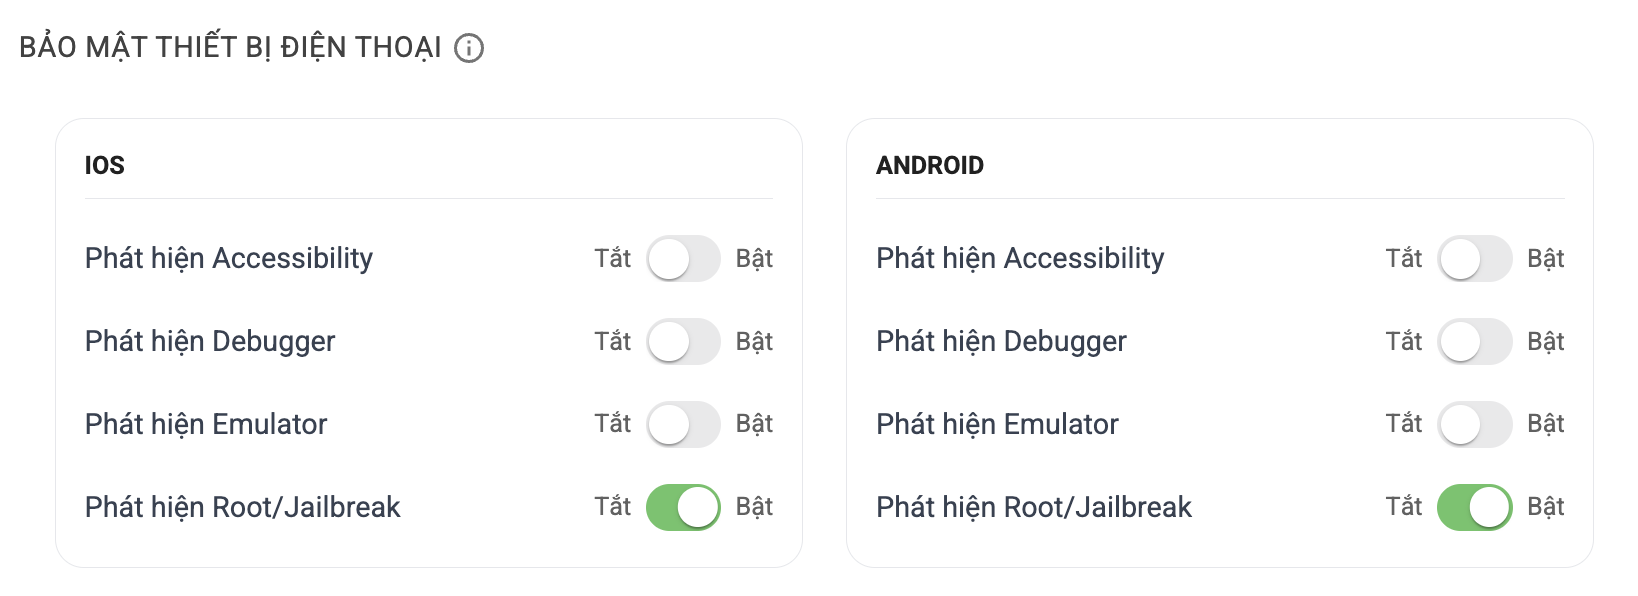
Description: Allows configuration of device security check mechanisms specific to iOS and Android operating systems.
The security checks include:
- Detect Accessibility: Detects if the device has Accessibility tools enabled that could be exploited to interfere with the system.
- Detect Debugger: Detects if the device has debug mode enabled.
- Detect Emulator: Detects if the app is running on an emulator.
- Detect Root/Jailbreak: Detects if the device is rooted (Android) or jailbroken (iOS).
How to configure: Use the toggle switches to enable or disable these features.
8. Show Guide Page

Description: This section allows customers to configure enabling/disabling the guide page display for the main steps of the eKYC process in the SDK.
There are 4 options for customers to configure:
- Off: Do not show the guide page at any step.
- Show at OCR: Show the guide page at the OCR step.
- Show at Liveness: Show the guide page at the liveness check step.
- Show at Both: Show at both OCR and liveness steps.
Customers can view the illustration of the guide page below:
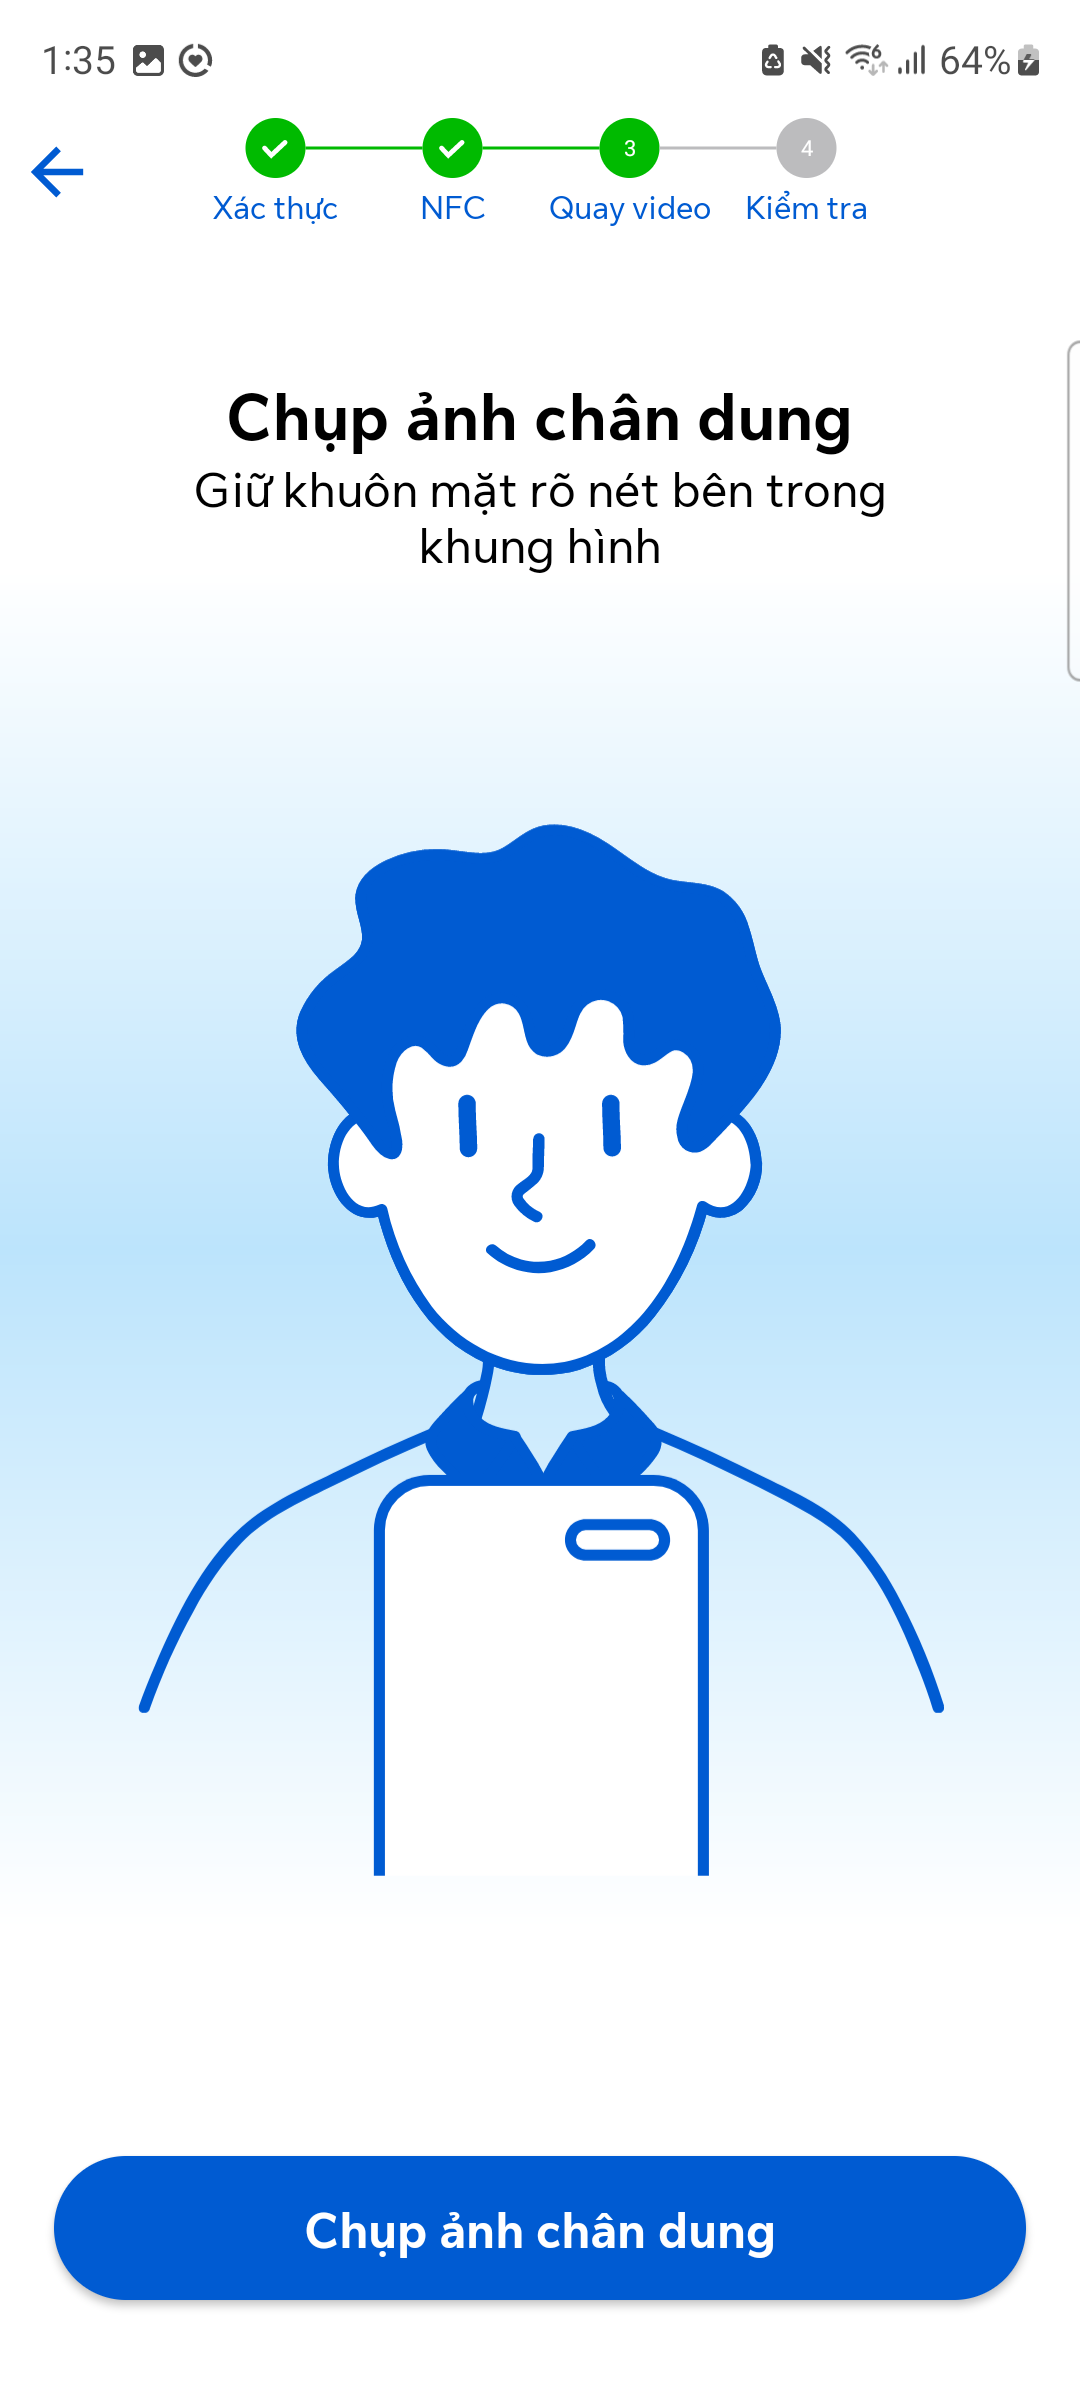
Guide page for the OCR step:
Guide page for the liveness check step:
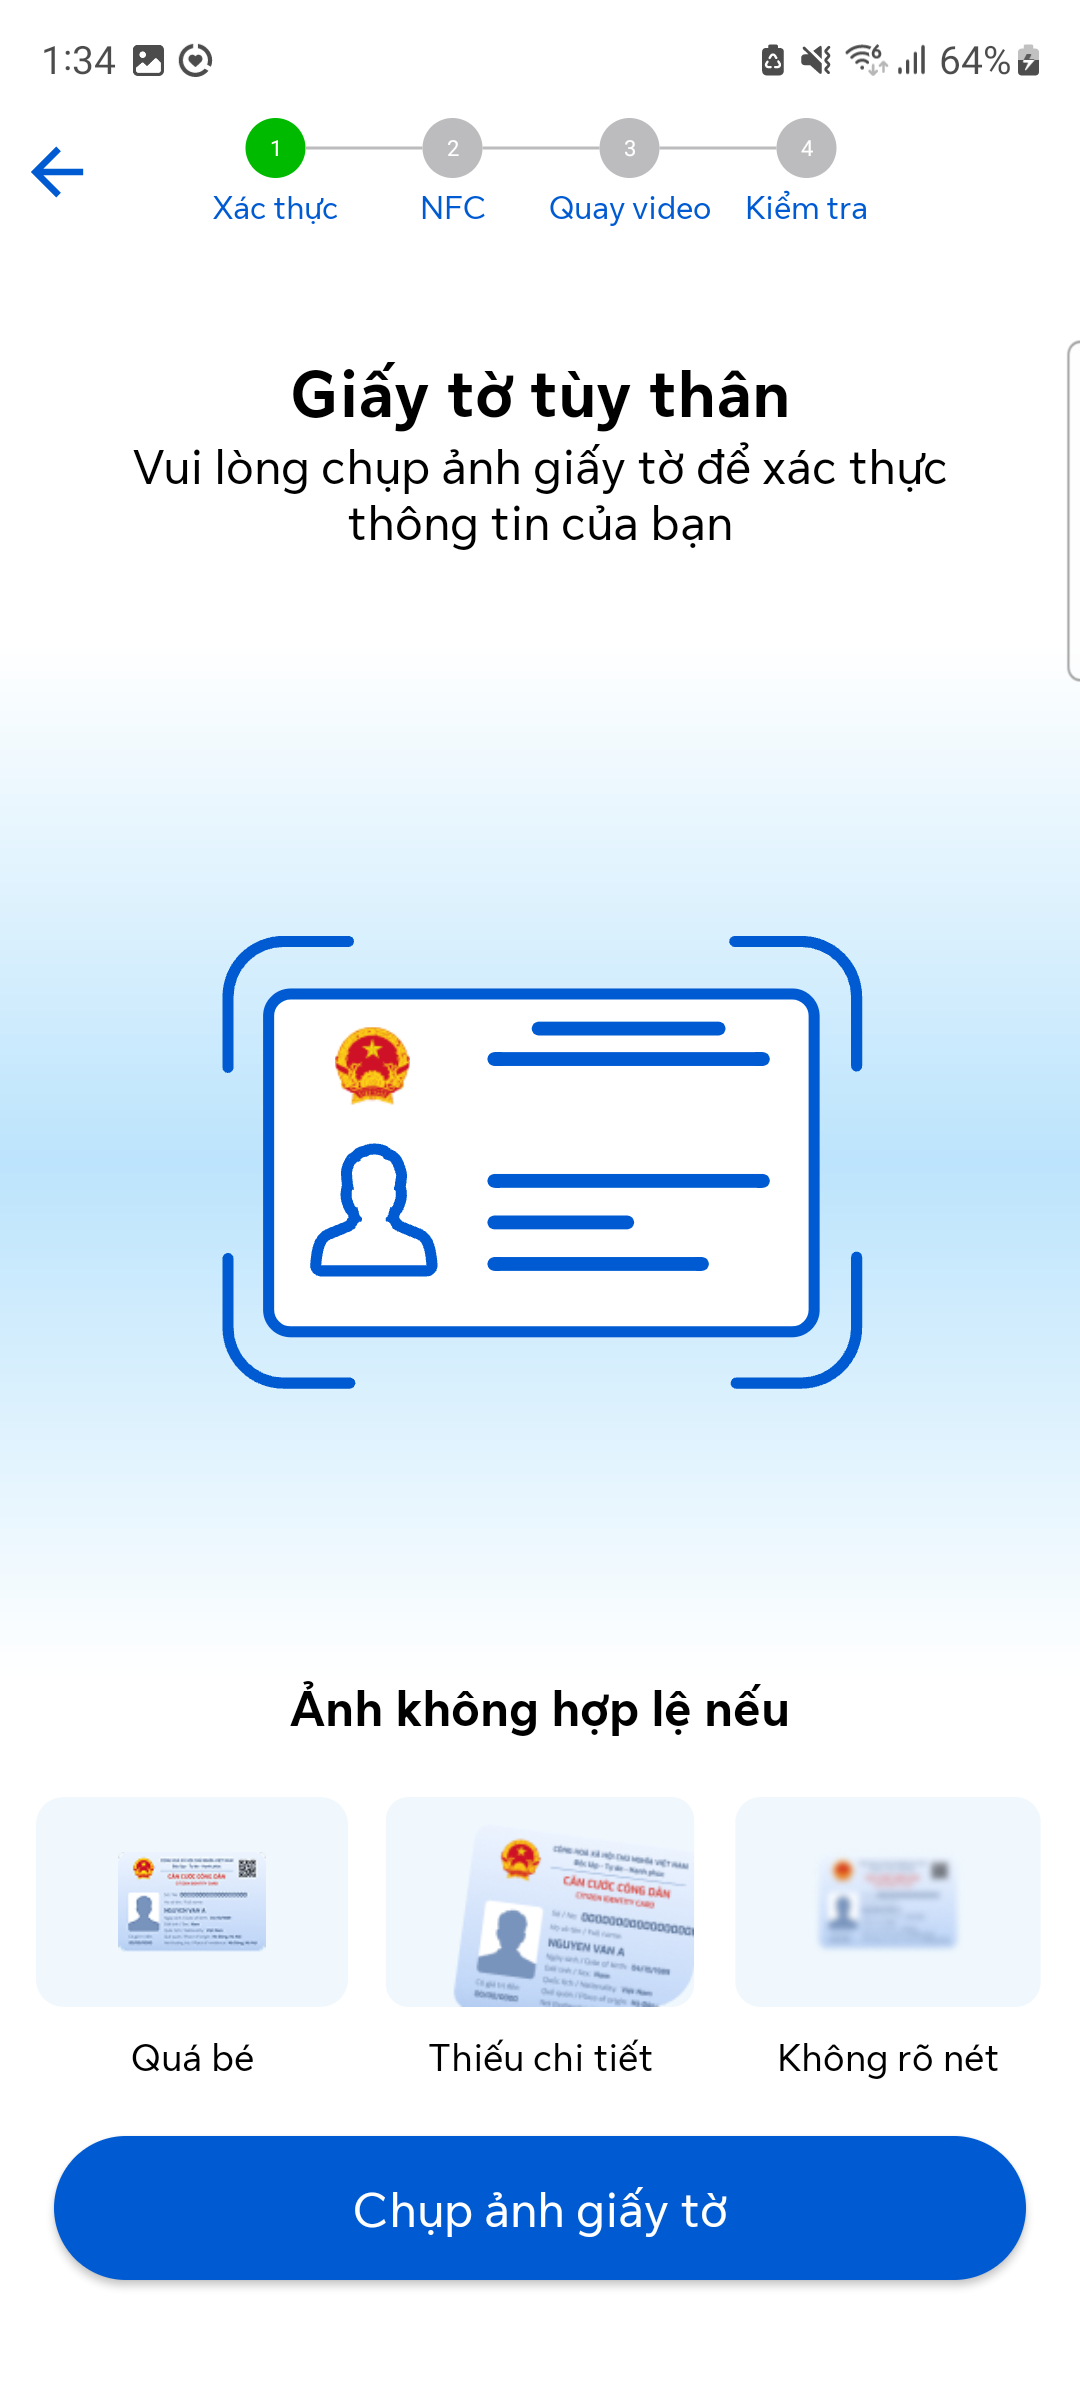
9. Show Action Steps

Description: This section allows customers to configure enabling/disabling the display of action steps in the SDK.
The action step diagram will help users have an overview of the current eKYC flow, the completed steps, and the steps to be performed next.
Customers can view the illustration of the action step diagram below:
How to configure: Use the toggle switch to enable or disable the display of action steps.
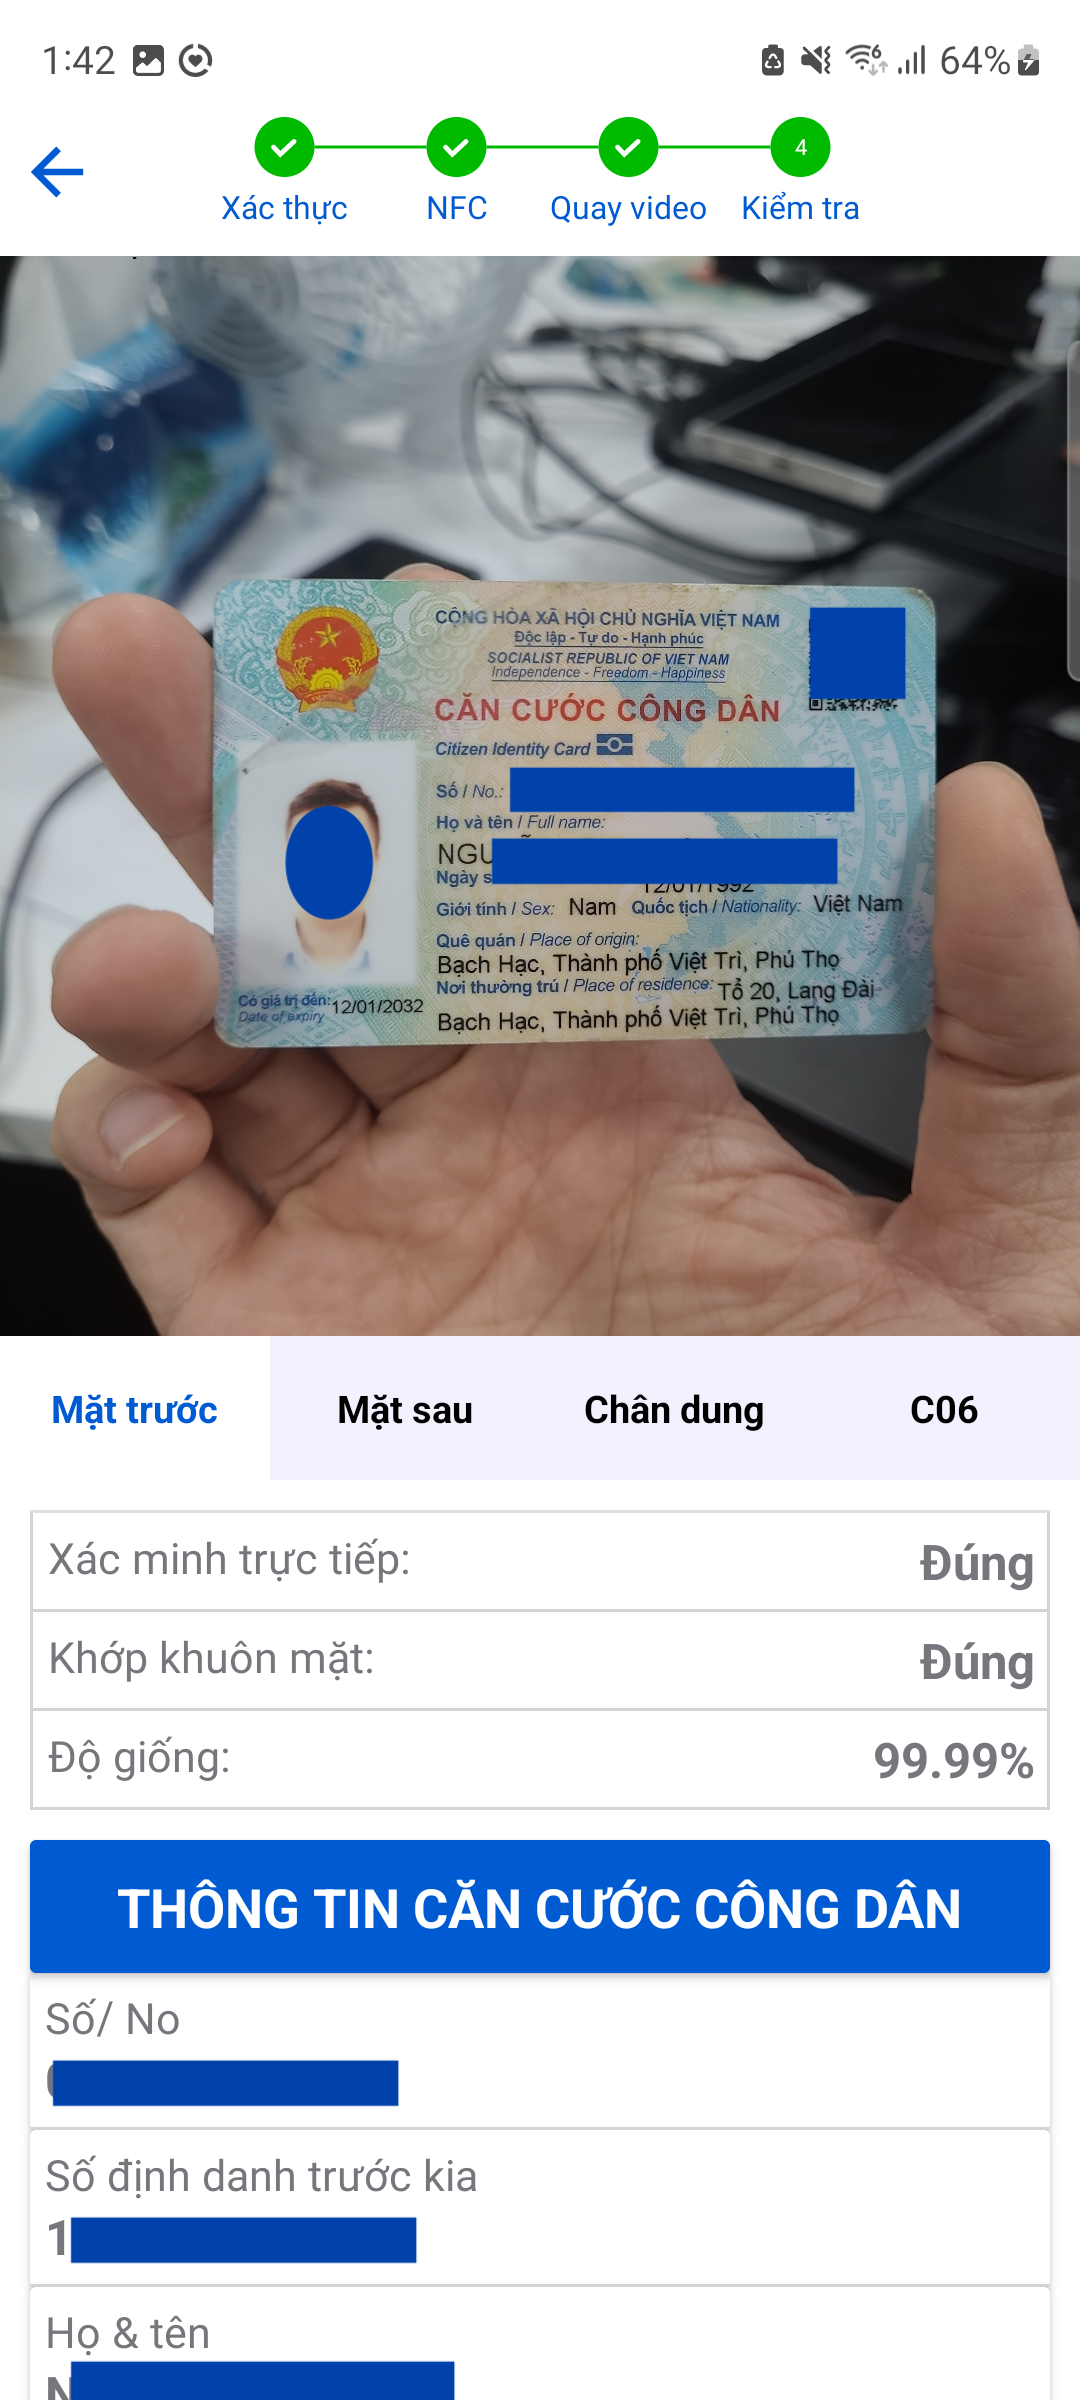
10. Show eKYC Result

Description: This section allows customers to configure enabling/disabling the eKYC result page display after completing the verification process in the SDK.
Customers can view the illustration of the eKYC result page below:
How to configure: Use the toggle switch to enable or disable the result page display.
11. Skip NFC Step

Description: This section allows customers to configure enabling/disabling the NFC step skip in the eKYC flow.
- On: Skip NFC
- Off: Mandatory NFC reading
How to configure: Use the toggle switch to enable or disable this feature.
12. Liveness Check Retry Limit
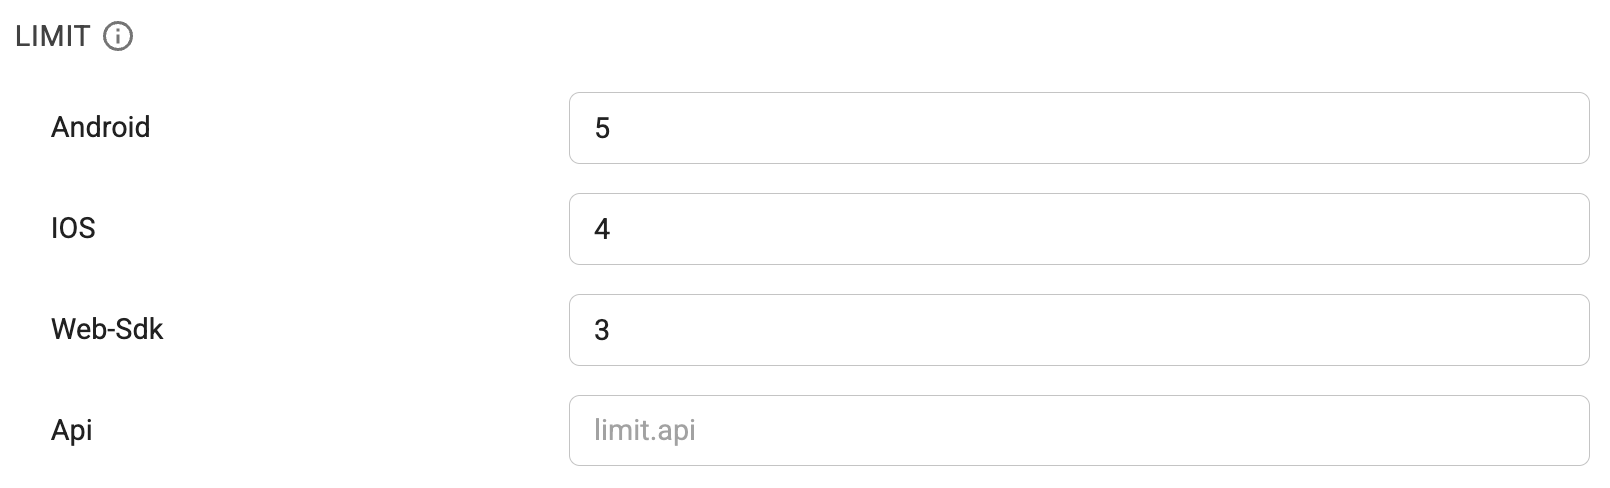
Description: This section allows customers to configure the number of liveness check retries allowed after the first failure.
Customers can configure different retry counts for different platforms and operating systems.
How to configure:
Enter the number of liveness check retries that users can perform in a session.
13. Document Capture Switch Animation

Description: This section allows customers to configure enabling/disabling the dynamic animation for guiding document capture.
This animation will be displayed when the user finishes capturing the front side of the document and serves as a guide for the user to continue capturing the back side.
Customers can view the illustration of this animation below:

How to configure:
Select Off or Enable from the dropdown menu.
Customers can customize the animation color to match their application's theme color.
14. Manual/Auto Capture Mode Switch

Description: This section allows customers to configure enabling/disabling the manual/auto capture mode switch button.
Allows devices that experience issues with auto capture to switch to manual capture mode.
This configuration is enabled by default.
How to configure:
Select Off or Enable from the dropdown menu.
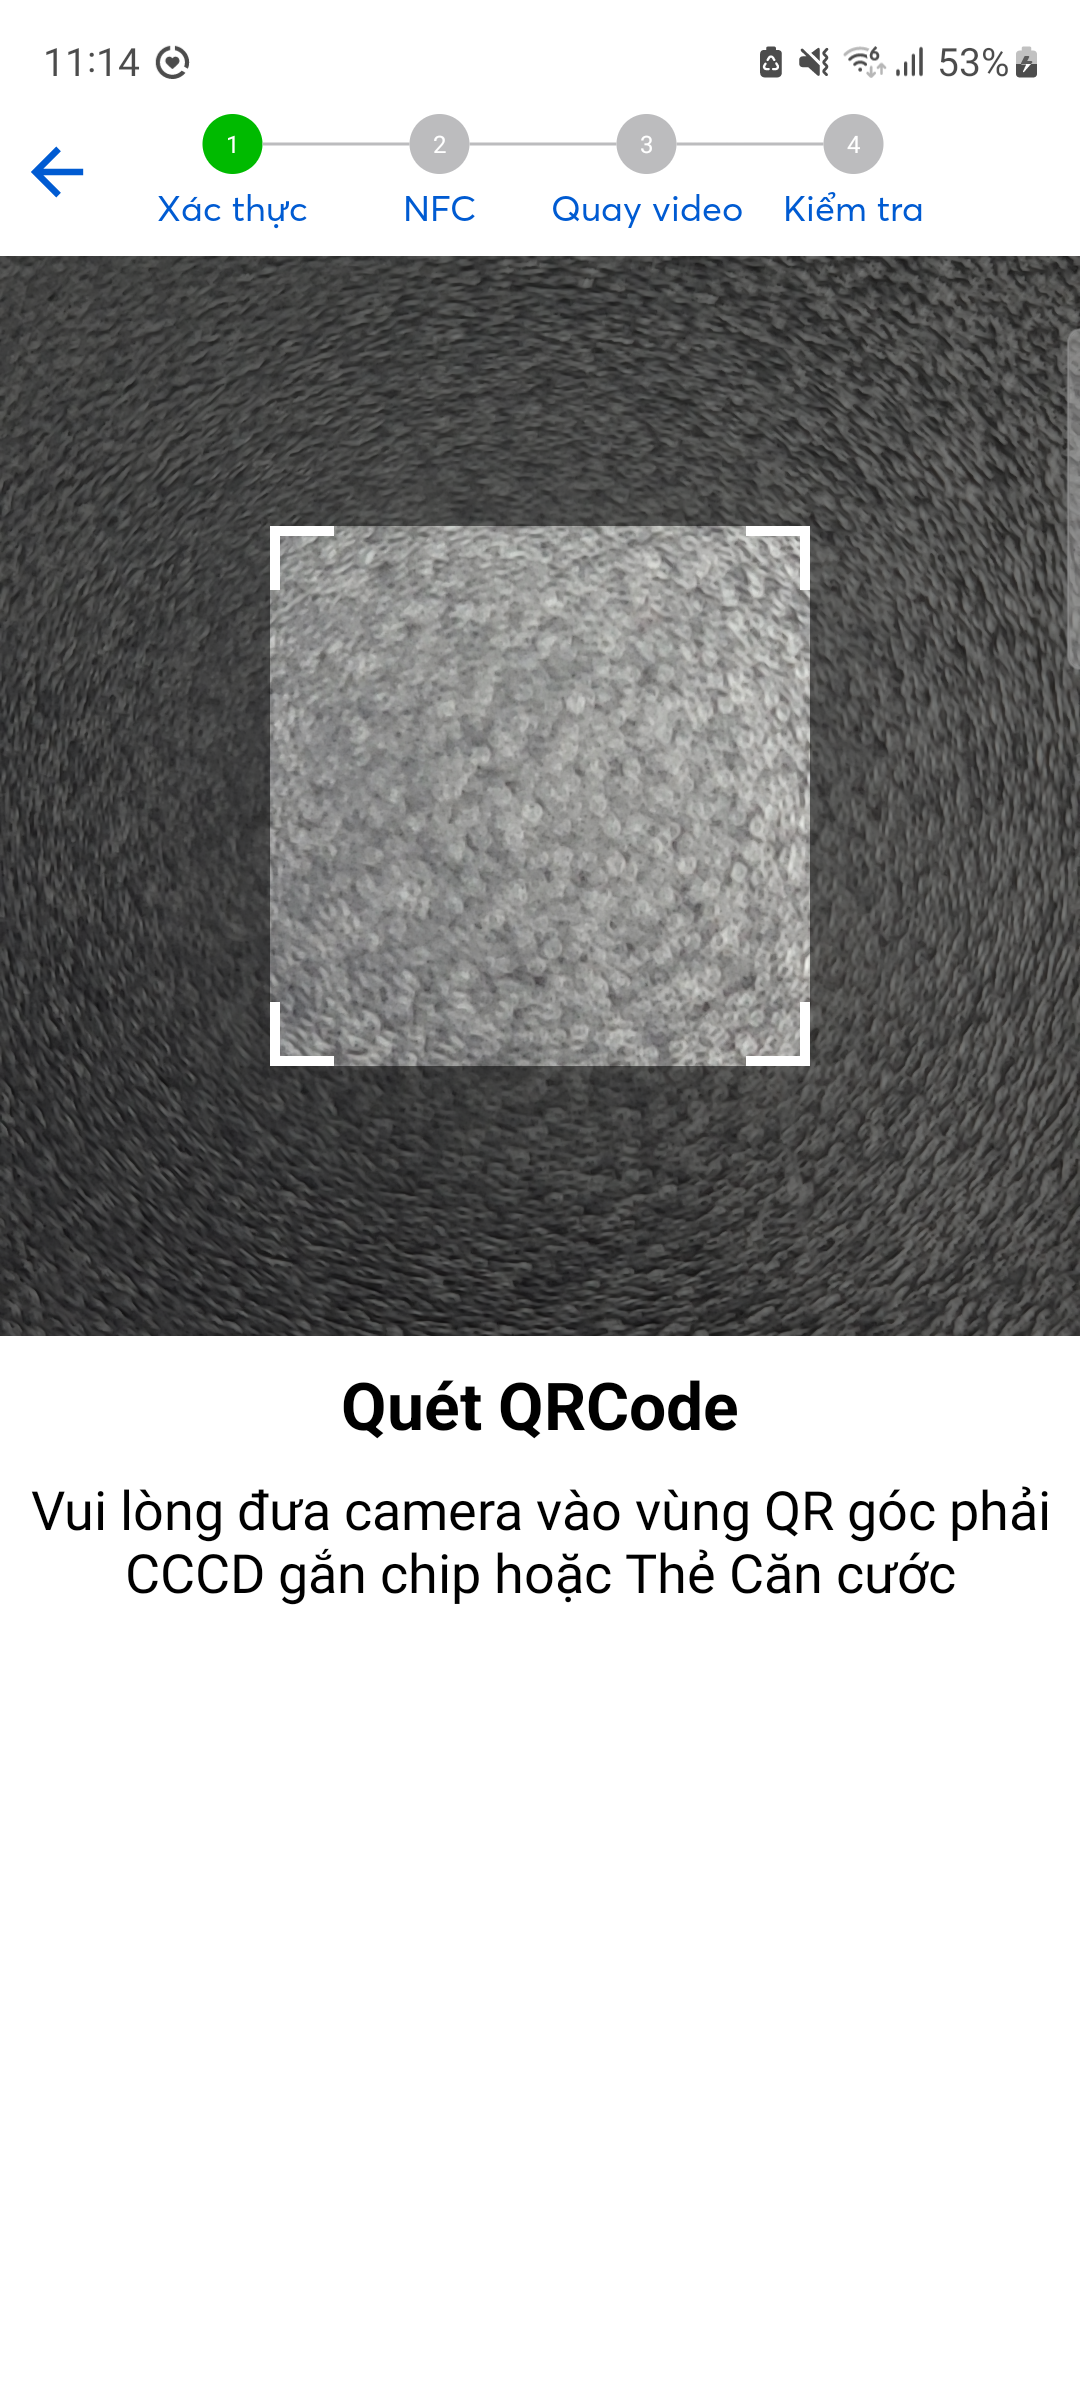
15. QR Code Scanning

Description: This section allows customers to configure enabling/disabling the QR code scanning step in the eKYC flow.
If this option is enabled, in case the OCR step does not have a QR code result, the SDK will automatically switch to the QR code scanning step. The user will be required to scan the QR code to continue the verification process.
Customers can view the QR code scanning illustration below:
How to configure:
Select Off or Enable from the dropdown menu.
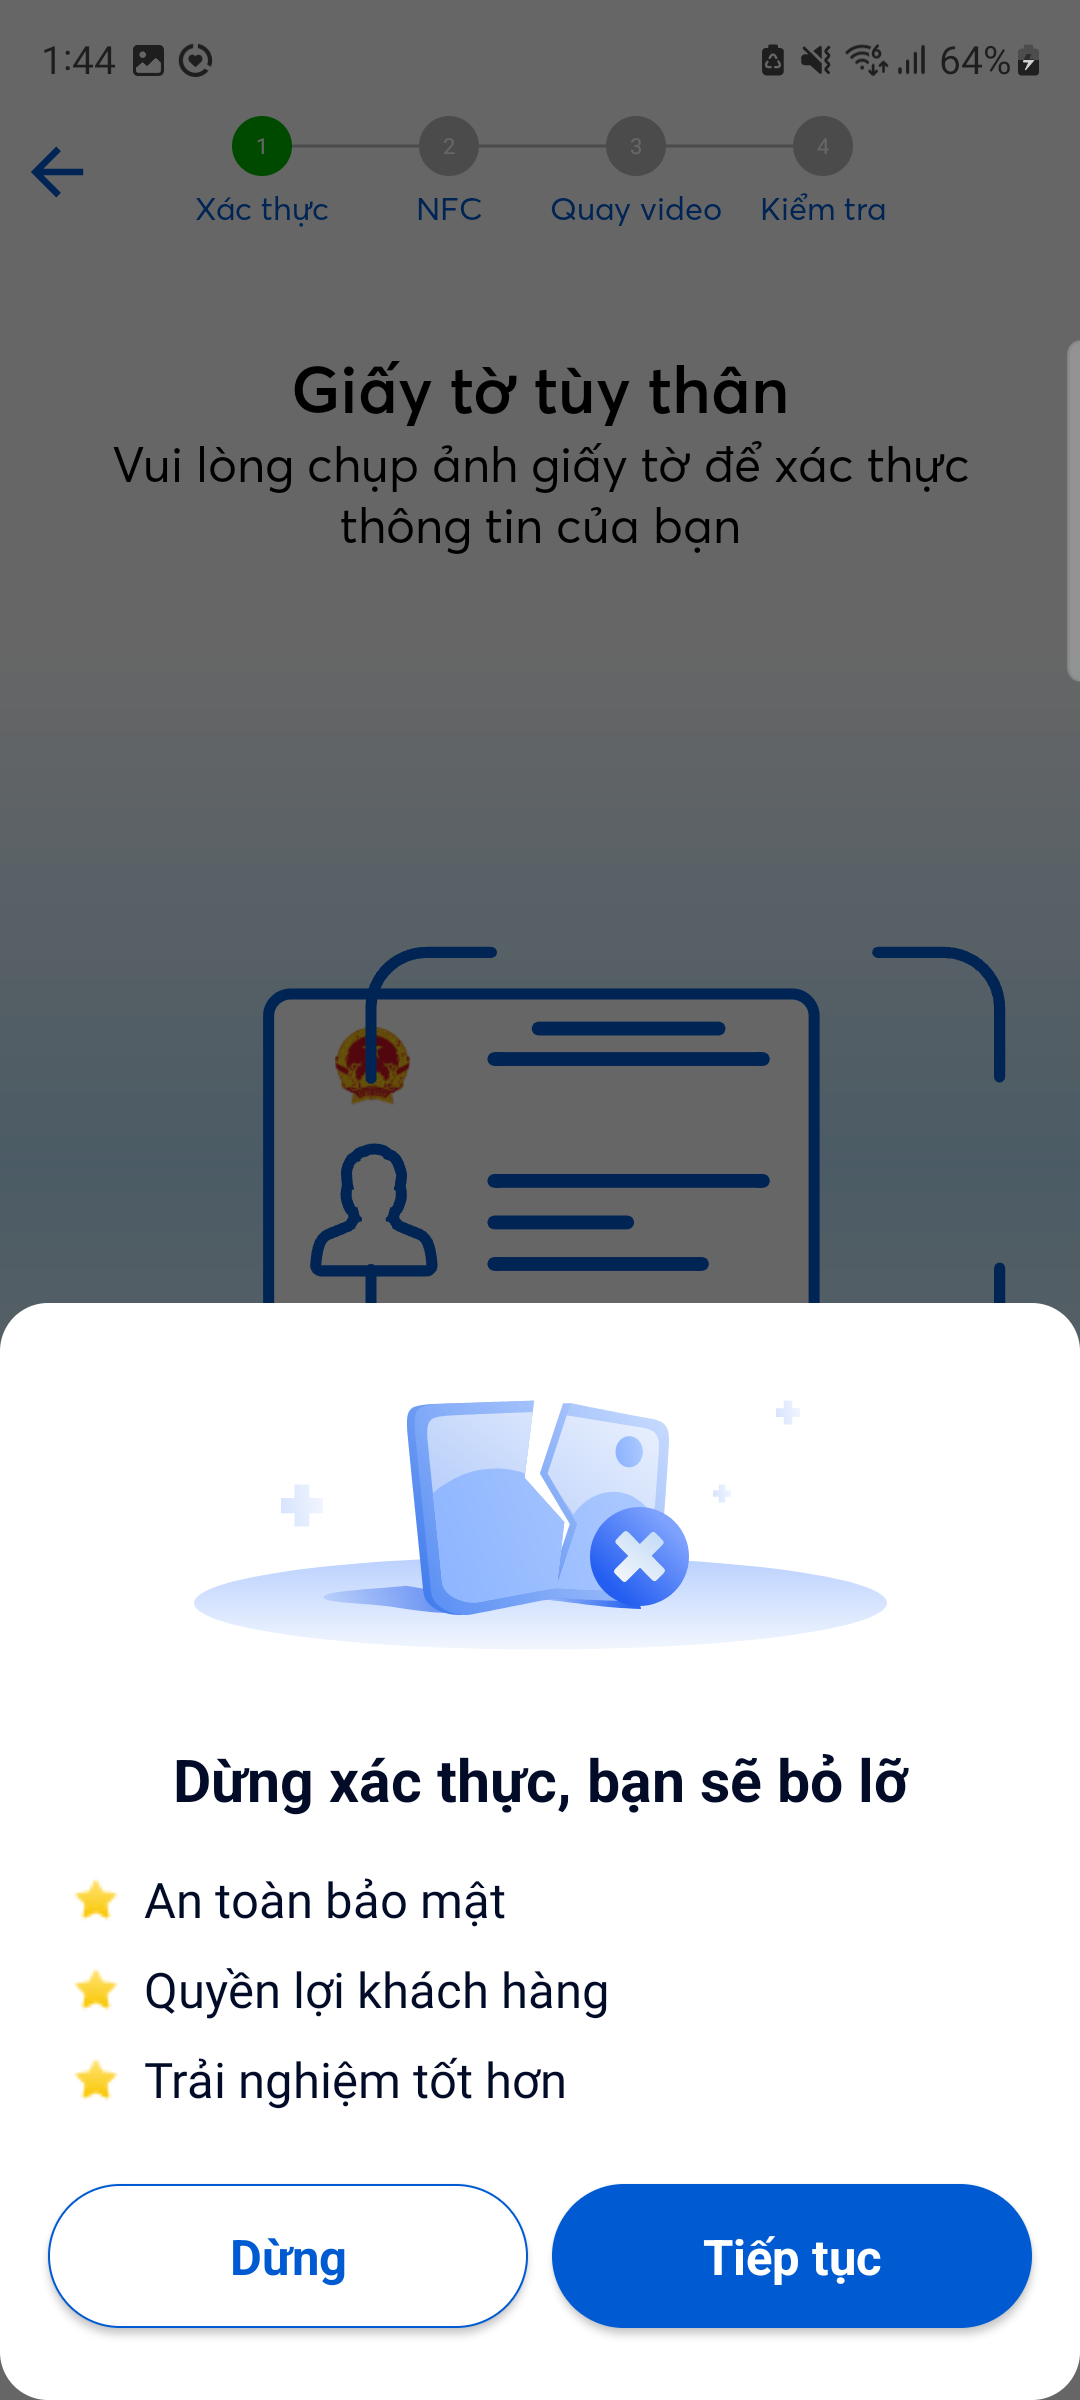
16. eKYC Flow Exit Confirmation

Description: This section allows customers to configure enabling/disabling the exit confirmation dialog when clicking to exit the eKYC flow midway.
Customers can view the illustration of the eKYC flow exit confirmation dialog below:
How to configure:
Select Off or Enable from the dropdown menu.
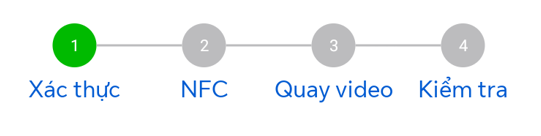
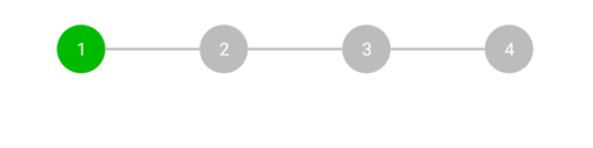
17. Show/Hide Step Labels

Description: This section allows customers to configure enabling/disabling the display of step labels on the action step diagram.
Customers can view the illustration of the action step diagram below:
With labels:

Without labels:
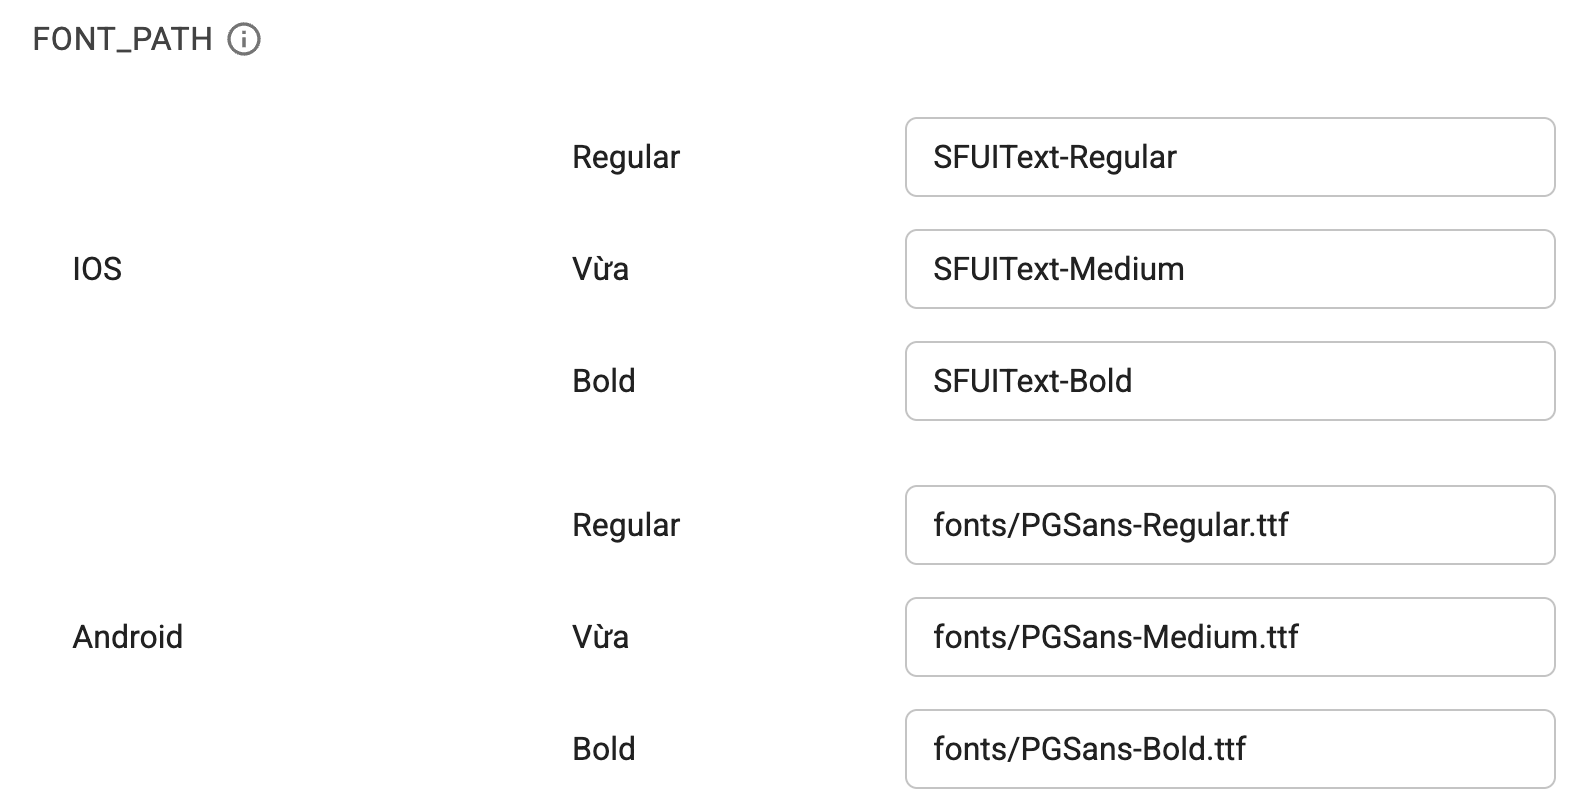
18. Mobile SDK Font Configuration
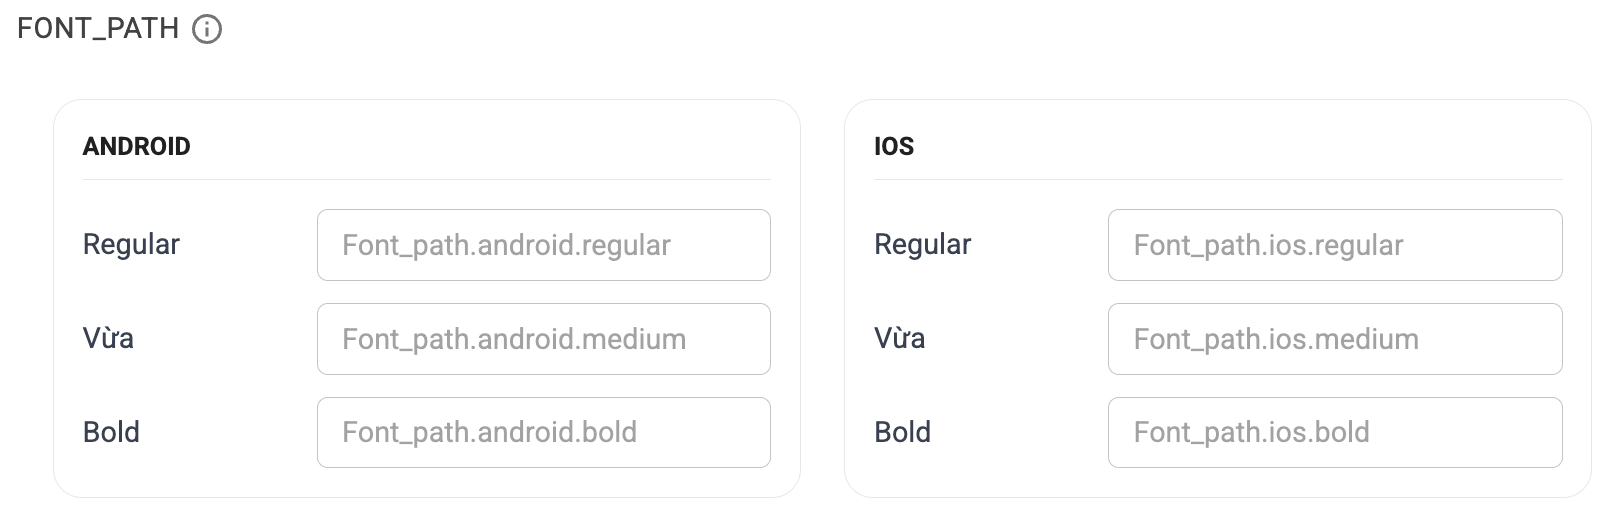
Description: This section allows customers to configure fonts for mobile SDKs.
Supported font styles include:
- Regular
- Medium
- Bold
How to configure: Enter the path to the desired font. For example:
Make sure to click the Update Information button after making any changes to apply the new configuration. If you encounter any issues, please contact the technical support team.